Few things set the tone for a wedding better than the invitations! They reflect the style of your big day and the love and commitment you share with your partner. Anyone can create unique and charming wedding invitations with just nine simple steps and some pink heart stickers.
Keep reading to learn how to create invitations that are not only beautiful but also reflect the couple’s personality and style.
Step 1: Define Your Wedding Theme and Color Scheme
Begin by deciding on your wedding’s theme and color palette. This will serve as the foundation for the design of your invitations. Consider factors like the venue, season, and personal preferences when choosing a theme.
Step 2: Select the Invitation Type
There are various types of wedding invitations to choose from, such as traditional, rustic, modern, or pocket-style. Pick one that best represents your wedding theme and personal tastes.
Step 3: Gather Your Materials
To compile a materials list for your invitation project, consider the type of invitation you’ve chosen. Common materials include cardstock or fine paper, calligraphy pens or inkjet printers, envelopes, embellishments like ribbons or lace, and adhesive.
Step 4: Plan Your Design
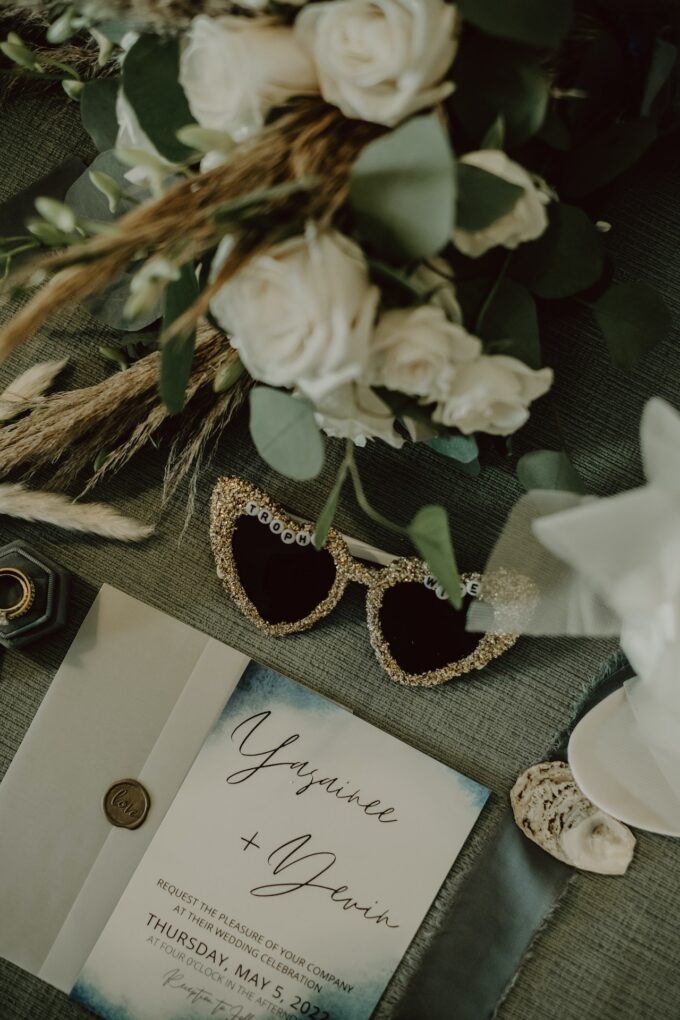
Sketch out your desired invitation design on plain paper or with design software before beginning actual production. Experiment with layouts, fonts, imagery, borders, and other elements that reflect your personality and style. Remember to include important information like the names of both partners, wedding date and time, venue details, RSVP instructions, dress code, and reception info.
Step 5: Print or Write Your Wedding Details
Utilize a high-quality printer or enlist the help of a skilled calligrapher to transfer your design onto the selected cardstock or fine paper. Be sure to print extra copies in case of errors or last-minute guest additions.
Step 6: Add Embellishments
Enhance your wedding invitations by adding personal touches and decorative embellishments. Consider using ribbons, lace, or rhinestones to reflect your wedding theme. Remember to keep it elegant and not overcrowded with decorations.
Step 7: Assemble Your Invitations
Carefully assemble your wedding invitations according to your predetermined design. Use adhesives sparingly and neatly to ensure a polished look. For pocket-style invites or multiple enclosure cards, organize the components in a logical order, so guests can easily understand the contents.
Step 8: Address the Envelopes
Address envelopes by hand (using a calligraphy pen) or with an inkjet printer for a professional touch. Include recipients’ names, addresses, and any other relevant details (such as “and guest” for plus-ones). Be sure to double-check spelling and accuracy before proceeding.
Step 9: Send the Invitations
Once your envelopes are addressed and invitations assembled, it’s time to send them out! Depending on the formality of your wedding, you may require postage stamps or custom postage with your initials or monogram. Aim to send invitations at least six to eight weeks before the wedding date.
If you follow these simple steps, you’ll be on your way to creating beautiful and personalized wedding invitations that your guests will cherish. Making your own invitations saves you money and allows for a more personal touch to your special day. Have fun creating, and don’t forget to add your unique flair to make them unique!